
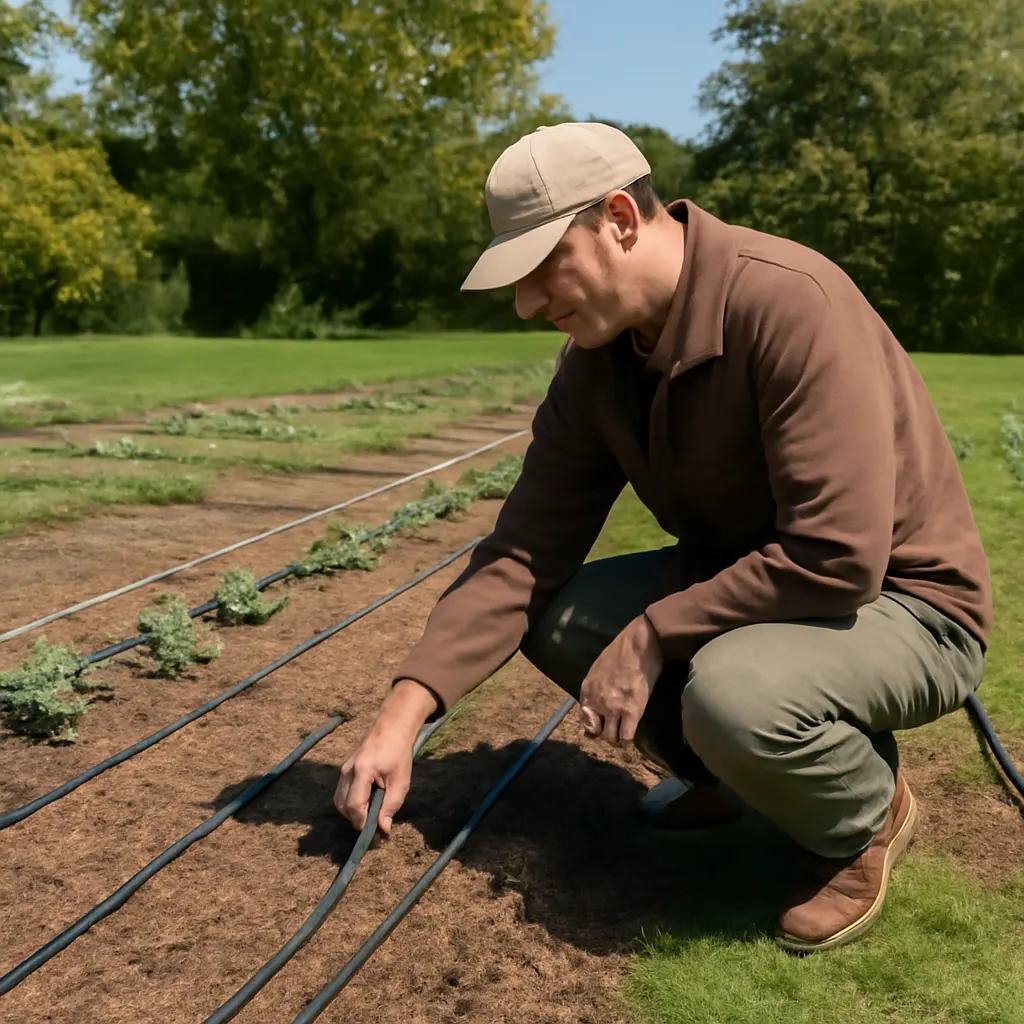
A first irrigation network is a planned system of pipes, fittings, valves, and water outlets that delivers water to plants. The least expensive way to build one is to design around the water source and the plants’ actual needs before buying equipment: measure available flow and pressure, divide the garden into suitable zones, and choose components that work together. That approach matters because irrigation is a major water use: the U.S. Environmental Protection Agency estimates that outdoor water use accounts for about 30% of household water use on average, with the share often higher in dry regions. This guide explains how to assess a site, size and zone a system, select efficient components, install and test the network, and avoid common costs such as leaks, poor coverage, and oversizing.
Plan the irrigation network around site conditions
An irrigation network is more than a collection of sprinklers or drip lines: it is a connected distribution system designed to deliver an appropriate amount of water at the right time and place. The Food and Agriculture Organization of the United Nations describes irrigation scheduling as deciding when and how much water to apply, based on crop water needs and available soil moisture. For a home garden, the same principle means matching the system to the water source, soil, slope, plant type, and local climate rather than starting with a shopping list.
The relevant system types, or hyponyms, include drip irrigation, micro-sprinklers, conventional sprinklers, and soaker hoses. They differ in how they apply water, the pressure and flow they need, and which planting areas they suit. A small vegetable bed may work well with dripline; a lawn may require sprinklers; and a mixed garden may need separate zones. The initial design determines whether those parts operate reliably together.
Measure the water source before buying equipment
Available flow is the quantity of water the source can deliver over time; pressure is the force that moves water through the network. They are related but not interchangeable. A simple flow test is to time how long a container of known volume takes to fill at the intended connection. For example, a 5-gallon container filled in one minute indicates a measured flow of 5 gallons per minute at that test point. Check pressure with a suitable gauge, ideally while water is flowing, because pressure can drop under demand.
Use the measured supply to limit the total demand of each zone. Add the flow ratings of the emitters or sprinkler heads that will run at the same time, then keep the zone demand within the source’s practical capacity. Product specifications matter: drip emitters and sprinkler heads are designed for particular operating ranges, and pressure that is too high or too low can cause uneven application. If the source is a private well, also consider the pump’s capacity and any competing household demand; for a municipal supply, follow local rules and connection requirements.
Map plants, soil, sun, and slope
A site map helps identify where water is needed and where it may be wasted. Mark beds, trees, lawn, paths, walls, the water connection, and any elevation changes. Group plants with similar water needs and rooting conditions. The U.S. Department of Agriculture’s Natural Resources Conservation Service explains that soil texture affects water movement and storage: sandy soils generally drain faster, while finer-textured soils can hold more water but may take it in more slowly. That difference influences emitter spacing, run time, and whether water should be applied in shorter cycles.
Slopes need particular attention because fast application can run off before it soaks in. On sloping ground or compacted soil, shorter irrigation cycles with pauses may improve infiltration. Keep sprinklers aimed away from pavement and buildings, and account for wind exposure when placing spray heads. These observations provide the basis for choosing an application method and dividing the site into zones.
Choose an irrigation method and size zones correctly
A zone is a group of outlets controlled together, typically by one valve or one manual connection. The key design rule is to group plants and outlets with similar water requirements while keeping the zone’s combined flow within the supply’s capacity. Dripline, sprinklers, and micro-sprays often should not share a zone because their flow rates and operating pressures can differ. A modest system with well-planned zones is usually easier to troubleshoot and expand than a large, poorly matched network.
Drip irrigation for beds and rows
Drip irrigation applies water slowly near plant roots through emitters or porous tubing. It is often suitable for vegetable beds, shrubs, containers, and rows where water can be delivered close to the plants. The U.S. Environmental Protection Agency’s WaterSense program identifies drip irrigation as a method that can reduce water lost to evaporation and runoff when properly designed and maintained. That does not make every drip setup automatically efficient: clogged emitters, poor layout, excessive pressure, or unnecessary run times can still waste water.
Use a filter when required by the emitter manufacturer and include pressure regulation if the equipment needs it. Lay tubing so the outlets correspond to plant locations, and follow manufacturer guidance on maximum run length and emitter spacing. For longer runs, pressure differences can lead to uneven delivery, so a shorter or separately supplied line may perform better. Leave accessible connections at the ends of lines for flushing and maintenance.
Sprinklers for lawns and broad coverage
Sprinklers distribute water over a wider area and are commonly used for lawns and dense groundcover. Their performance depends on matching head type, spacing, pressure, and flow. A useful design check is “head-to-head” coverage: each sprinkler’s spray should reach the neighboring head, reducing dry gaps. Wind, obstacles, and pressure variation can undermine coverage, so test the layout before burying or permanently fixing lines.
Do not mix sprinkler heads with substantially different precipitation rates in one zone unless the system is designed to compensate. Otherwise, some areas may receive too much water while others remain dry. Where practical, use separate zones for lawn and planting beds, and avoid watering hard surfaces. The EPA reports that a WaterSense-labeled irrigation controller can help adjust watering schedules to local weather or site conditions, but controllers do not correct faulty hydraulics or misplaced heads.
Soaker hoses and micro-sprinklers for small areas
Soaker hoses release water along their length through porous material, while micro-sprinklers apply a small spray over a limited area. They can be practical for compact beds, hedges, or irregular planting shapes, especially where a permanent buried system is unnecessary. Their delivery can vary with hose length, pressure, and placement, so check the manufacturer’s limits and observe how evenly the soil becomes moist.
These options are not interchangeable in every situation. A soaker hose may be less suitable where water quality causes clogging or where the hose cannot be placed close to roots; micro-sprays may wet foliage and lose water to wind. A small test section helps reveal these trade-offs before purchasing enough material for the entire garden.
Select compatible components and avoid hidden costs
A basic network may include a source connection, backflow protection where required, filter, pressure regulator, mainline, zone valves, lateral tubing, outlets, and end caps or flush points. The exact arrangement depends on the water source, local code, and equipment instructions. Compatibility matters: tubing diameter, fitting type, pressure rating, and thread standard must match. Buying a complete set of compatible parts can reduce mistakes, but compare specifications rather than assuming that every component in a kit suits the site.
Protect drinking-water connections and follow local rules
Backflow prevention protects potable water from contamination that could flow backward from an irrigation system. Requirements vary by jurisdiction and by the type of connection, fertilizer injection, or system configuration. The U.S. Environmental Protection Agency and local plumbing authorities emphasize protecting drinking-water systems from cross-connections; homeowners should confirm the applicable device and installation rules with their water provider or local building department before connecting a system.
Do not omit a required backflow device to save money. A compliant installation can prevent contamination and costly rework, while a device that is inaccessible or installed in the wrong orientation can be difficult to inspect and maintain. If local rules require a licensed installer or testing, include that cost in the plan.
Budget for filtration, pressure control, and repair access
Filters catch particles that can clog small emitter openings, and pressure regulators keep operating pressure within the range specified for downstream components. Their importance depends on the water source and equipment, but omitting a needed filter or regulator can shorten component life and create uneven watering. Place serviceable parts where they can be reached, and include shutoff points so a damaged zone can be isolated without disabling the whole network.
Avoid spending on features before confirming the basic design. A smart controller, buried pipe, or extensive automation cannot compensate for an undersized supply, incompatible emitters, or poor coverage. For a first installation, it is often more economical to build a simple, testable system with quality connectors and room to expand than to buy a large kit with unnecessary accessories.
Install, test, and maintain the irrigation network
Installation should proceed from the source outward: confirm the connection and required protection, assemble the filter and pressure-control components, install the mainline and zone controls, then add laterals and outlets. Flush lines before connecting sensitive emitters, and test each zone before covering or securing the network. A pressure test and visual inspection can catch leaks, loose fittings, blocked outlets, and incorrect spray direction while repairs are still easy.
Check distribution with a simple field test
A catch-can test helps assess sprinkler uniformity: place identical straight-sided containers across the irrigated area, run the system for a fixed interval, and compare collected depths. Large differences indicate that head spacing, pressure, nozzle choice, or wind exposure may need adjustment. For drip systems, compare output from representative emitters by collecting water over the same period. These checks turn “it looks wet” into a measurable assessment of distribution.
The Irrigation Association recommends using water-management practices that account for soil, plants, and weather rather than relying on a fixed schedule alone. In practice, inspect soil moisture near the root zone and adjust run times as conditions change. A rain sensor or weather-based controller may help, but it should be reviewed periodically and set to local restrictions and plant needs.
Prevent leaks, clogs, and seasonal damage
Routine maintenance protects both performance and budget. Inspect connections for leaks, clean filters as directed, flush lines when needed, and check that emitters and sprinkler heads remain unobstructed. Watch for changes in plant health or unusually wet and dry patches, which can signal a clogged outlet, damaged line, or uneven pressure.
In areas with freezing temperatures, drain or winterize components according to manufacturer instructions and local practice. Before the next growing season, restart the system gradually and inspect each zone. Keeping a simple map of valves, line routes, and component specifications makes repairs faster and reduces the risk of damaging buried tubing during future landscaping.
Conclusion: Build a small system that fits before expanding
A reliable first irrigation network begins with measured supply capacity and a clear site map. Choose drip, sprinklers, soaker hoses, or micro-sprays according to planting areas; group compatible outlets into zones; and select components that match required flow and pressure. Include locally required backflow protection, test coverage before finalizing the layout, and maintain filters, lines, and outlets. These steps reduce avoidable purchases, water waste, and repair work while giving the system room to grow. Before buying, measure flow and pressure, sketch the site, and verify local requirements with your water provider or building department.
Sources: U.S. Environmental Protection Agency, WaterSense: Outdoor Water Use in the United States, https://www.epa.gov/watersense/outdoors; U.S. Environmental Protection Agency, WaterSense: Watering Tips, https://www.epa.gov/watersense/watering-tips; Food and Agriculture Organization of the United Nations, Irrigation Water Management: Training Manual No. 4, Irrigation Scheduling, https://www.fao.org/4/t7202e/t7202e00.htm; U.S. Department of Agriculture, Natural Resources Conservation Service, Soil Quality Indicators: Available Water Capacity, https://www.nrcs.usda.gov/resources/education-and-teaching-materials/soil-quality-indicators-available-water-capacity; Irrigation Association, Landscape Irrigation Best Management Practices, https://www.irrigation.org/IA/Resources/Best-Management-Practices/IA/Resources/Best-Management-Practices.aspx; U.S. Environmental Protection Agency, Cross-Connection Control and Backflow Prevention, https://www.epa.gov/dwreginfo/cross-connection-control-and-backflow-prevention